hnlzm@lvmeikapton.com
+86 13787123465


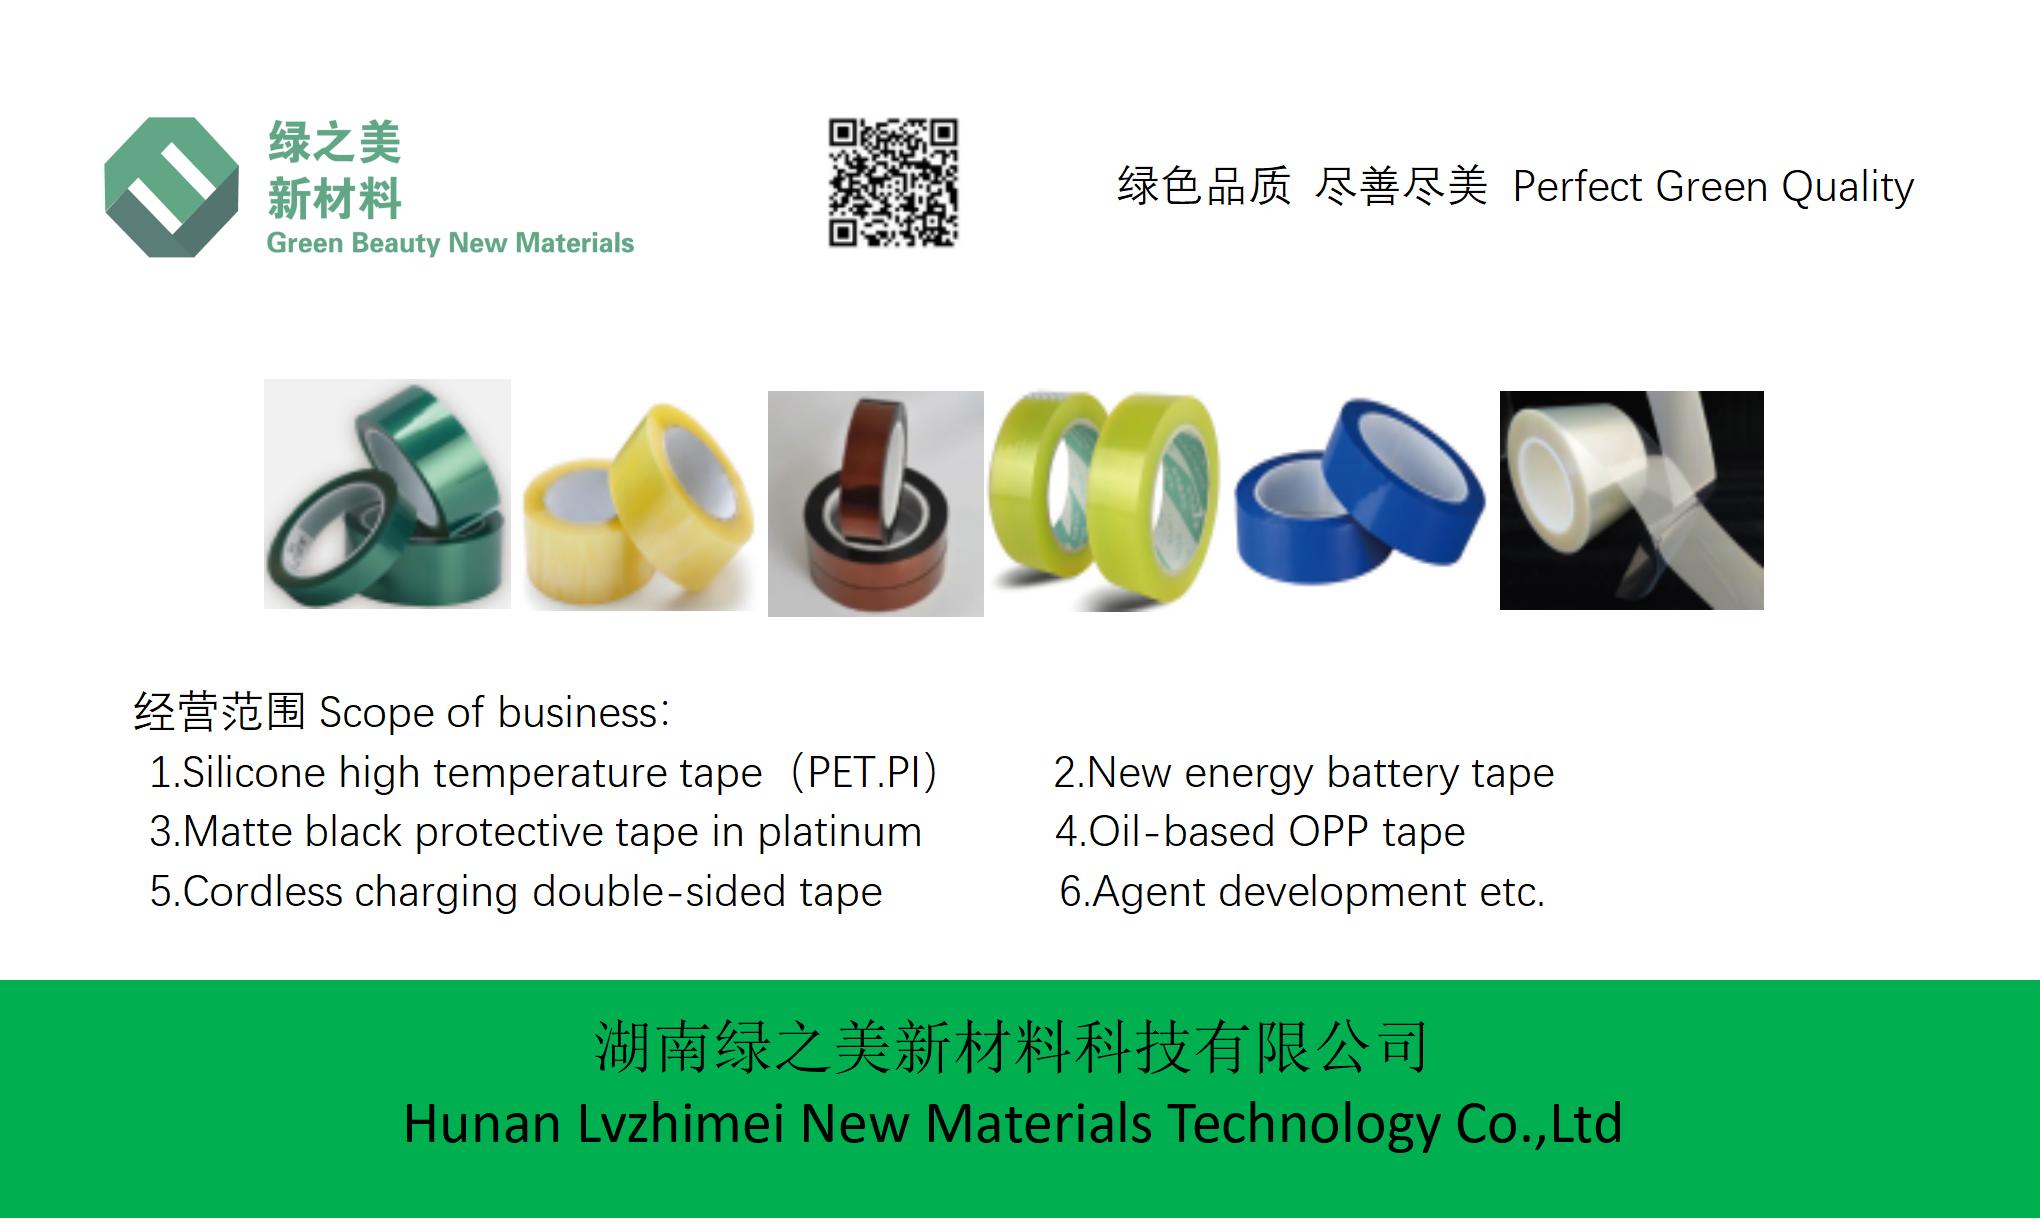
Hunan Lvzhimei New Material Technology Co., Ltd.

NameDescriptionContent
How to Effectively Apply Brown Circuit Board High Temperature Tape for Long-Term Durability|https://www.lvmeikapton.com/
Source:
|
Author:Koko Chan
|
Published time: 2025-05-12
|
442 Views
|
🔊 Click to read aloud
❚❚
▶
|
Share:
High-temperature tapes, particularly brown circuit board tapes, are critical components in electronics manufacturing and maintenance. These tapes protect printed circuit boards (PCBs) during processes like wave soldering, reflow oven exposure, and thermal stress testing. To ensure long-term durability, proper application is essential. This article provides a step-by-step guide, covering surface preparation, application techniques, and post-installation checks to maximize tape lifespan.
1. Surface Preparation: The Foundation for Durability
1.1 Cleaning and DegreasingBefore applying tape, the substrate (circuit board or component) must be thoroughly cleaned to remove contaminants like oils, flux residues, and oxides. Use isopropyl alcohol (IPA) or specialized electronics cleaner to wipe surfaces with a lint-free cloth. Avoid abrasive materials that may scratch the board. For stubborn contaminants, consider ultrasonic cleaning or plasma treatment.
1.2 Surface Texture and RoughnessThe tape’s adhesion depends on surface texture. Smooth surfaces (Ra < 1.6 μm) provide better contact, while rough surfaces may require primer application. For example, nickel-coated boards benefit from a silane-based primer to enhance bonding.
1.3 Drying and Humidity ControlEnsure the substrate is completely dry before taping. High humidity (above 60%) can degrade adhesion. Use a dehumidifier or allow boards to air-dry in a controlled environment (23°C ± 2°C). Avoid touching surfaces with bare hands to prevent oil transfer.
2. Selecting the Right Tape: Material Considerations
Tape Type | Temperature Range | Key Features | Ideal Applications |
Kapton (PI) | -200°C to +260°C | Excellent thermal stability, chemical resistance, low outgassing | SMD reflow protection, solder mask reinforcement |
PET Green Tape | -40°C to +200°C | High tensile strength, solvent resistance, easy removal | Powder coating masking, PCB soldering |
Teflon (PTFE) | -70°C to +260°C | Non-stick, corrosion-resistant, low friction | Cable insulation, high-wear areas |
Silicone | -60°C to +180°C | Flexible, conformable to irregular shapes | Temporary fixture holding, low-stress applications |
Selection Tips:
●
For wave soldering (260°C peak), choose Kapton or PTFE tapes.
●
For lead-free reflow (240°C), PET tapes with reinforced adhesives are suitable.
●
Avoid mixed-material tapes (e.g., silicone on nickel surfaces) to prevent delamination.
3. Application Techniques: Precision Matters
3.1 Masking and Alignment
●
Use CAD templates or laser-cut stencils to ensure precise tape placement.
●
For irregular shapes, score tape edges with a razor blade to prevent tearing.
●
Apply tape slowly (2-5 cm/s) with gentle pressure to avoid air pockets.
3.2 Layering and OverlapMultiple tape layers can enhance protection but require careful management:
●
Overlap edges by 2-3 mm to seal gaps.
●
Avoid >3 layers to prevent thermal stress-induced delamination.
3.3 Edge Sealing and AnchoringSeal tape edges with acrylic sealant or edge-lock tape to prevent moisture ingress. Use mechanical anchors (e.g., clips) for high-stress areas to distribute tape load.
4. Post-Installation Checks: Verification and Maintenance
4.1 Visual Inspection
●
Check for air bubbles, wrinkles, or tape misalignment using a 10x magnifier.
●
Perform fluorescent dye testing to identify hidden voids (optional for critical applications).
4.2 Adhesion TestingUse a peel test (ASTM D3330) to confirm bond strength. Acceptable values:
●
Kapton tape: >10 N/25 mm
●
PET tape: >8 N/25 mm
4.3 Environmental Monitoring
●
Log temperature/humidity profiles during storage and use.
●
For outdoor exposure, track UV radiation levels using dosimeters.
4.4 Maintenance Schedule
Interval | Action |
Daily | Visual check for tape integrity |
Monthly | Test adhesion at 3 random points |
After thermal cycle | Evaluate tape for discoloration, brittleness, or residue (e.g., flux migration) |
Every 6 months | Replace tape if adhesion drops below 80% of initial value |
5. Troubleshooting Common Issues
5.1 Tape Delamination
●
Cause: Surface contamination or rapid temperature cycling.
●
Solution: Clean surface with IPA, apply thermal buffer layer (e.g., silicone coating).
5.2 Residue Removal
●
For residual adhesive, use methylene chloride solvent (with proper ventilation).
●
Avoid aggressive scraping that damages board finishes.
5.3 Edge Curling
●
Cause: Inadequate sealing or thermal expansion mismatch.
●
Solution: Apply edge sealant or use step-lap technique (overlapping tape edges).
6. Conclusion: Best Practices Summary
1.
Clean surfaces with IPA and verify dryness.
2.
Select tapes based on peak temperatures and chemical exposure.
3.
Apply tape slowly, seal edges, and avoid excessive layering.
4.
Monitor environment and perform regular adhesion tests.
5.
Replace tape proactively at 6-month intervals or as per test results.
By following these protocols, brown circuit board tapes can maintain durability for >5 years, protecting critical electronics from thermal, chemical, and mechanical stresses.
References
1.
IPC-A-610E: Acceptability of Electronic Assemblies
2.
ASTM D3330: Peel Adhesion Test Method for Flexible Materials
3.
NASA Technical Report: Thermal Protection Systems for Electronic Devices
Table: Comparison of High-Temperature Tape Properties
Property | Kapton | PET Green | Teflon | Silicone |
Max Temperature | +260°C | +200°C | +260°C | +180°C |
Chemical Resistance | Excellent | Good | Excellent | Fair |
Cost | High | Medium | High | Low |
Ease of Removal | Easy | Moderate | Easy | Very Easy |
Common Issues | Delamination | Residue | Friction | Creepage |
This comprehensive guide ensures that high-temperature tapes remain effective, prolonging circuit board reliability and minimizing costly failures in demanding environments.
Hunan Lvzhimei New Material Technology Co., Ltd.
Quick Links


Product Categories
© 2024 Hunan Lvzhimei New Material Technology Co., Ltd.All Rights Reserved. Designed by Erge
0731 - 89717319
hnlzm@lvmeikapton.com
+86 13787123465
Room 502, Chuangye Building, No186, Guyuan Road, High-Tech District, Changsha, Hunan, China
CONTACT


