hnlzm@lvmeikapton.com
+86 13787123465


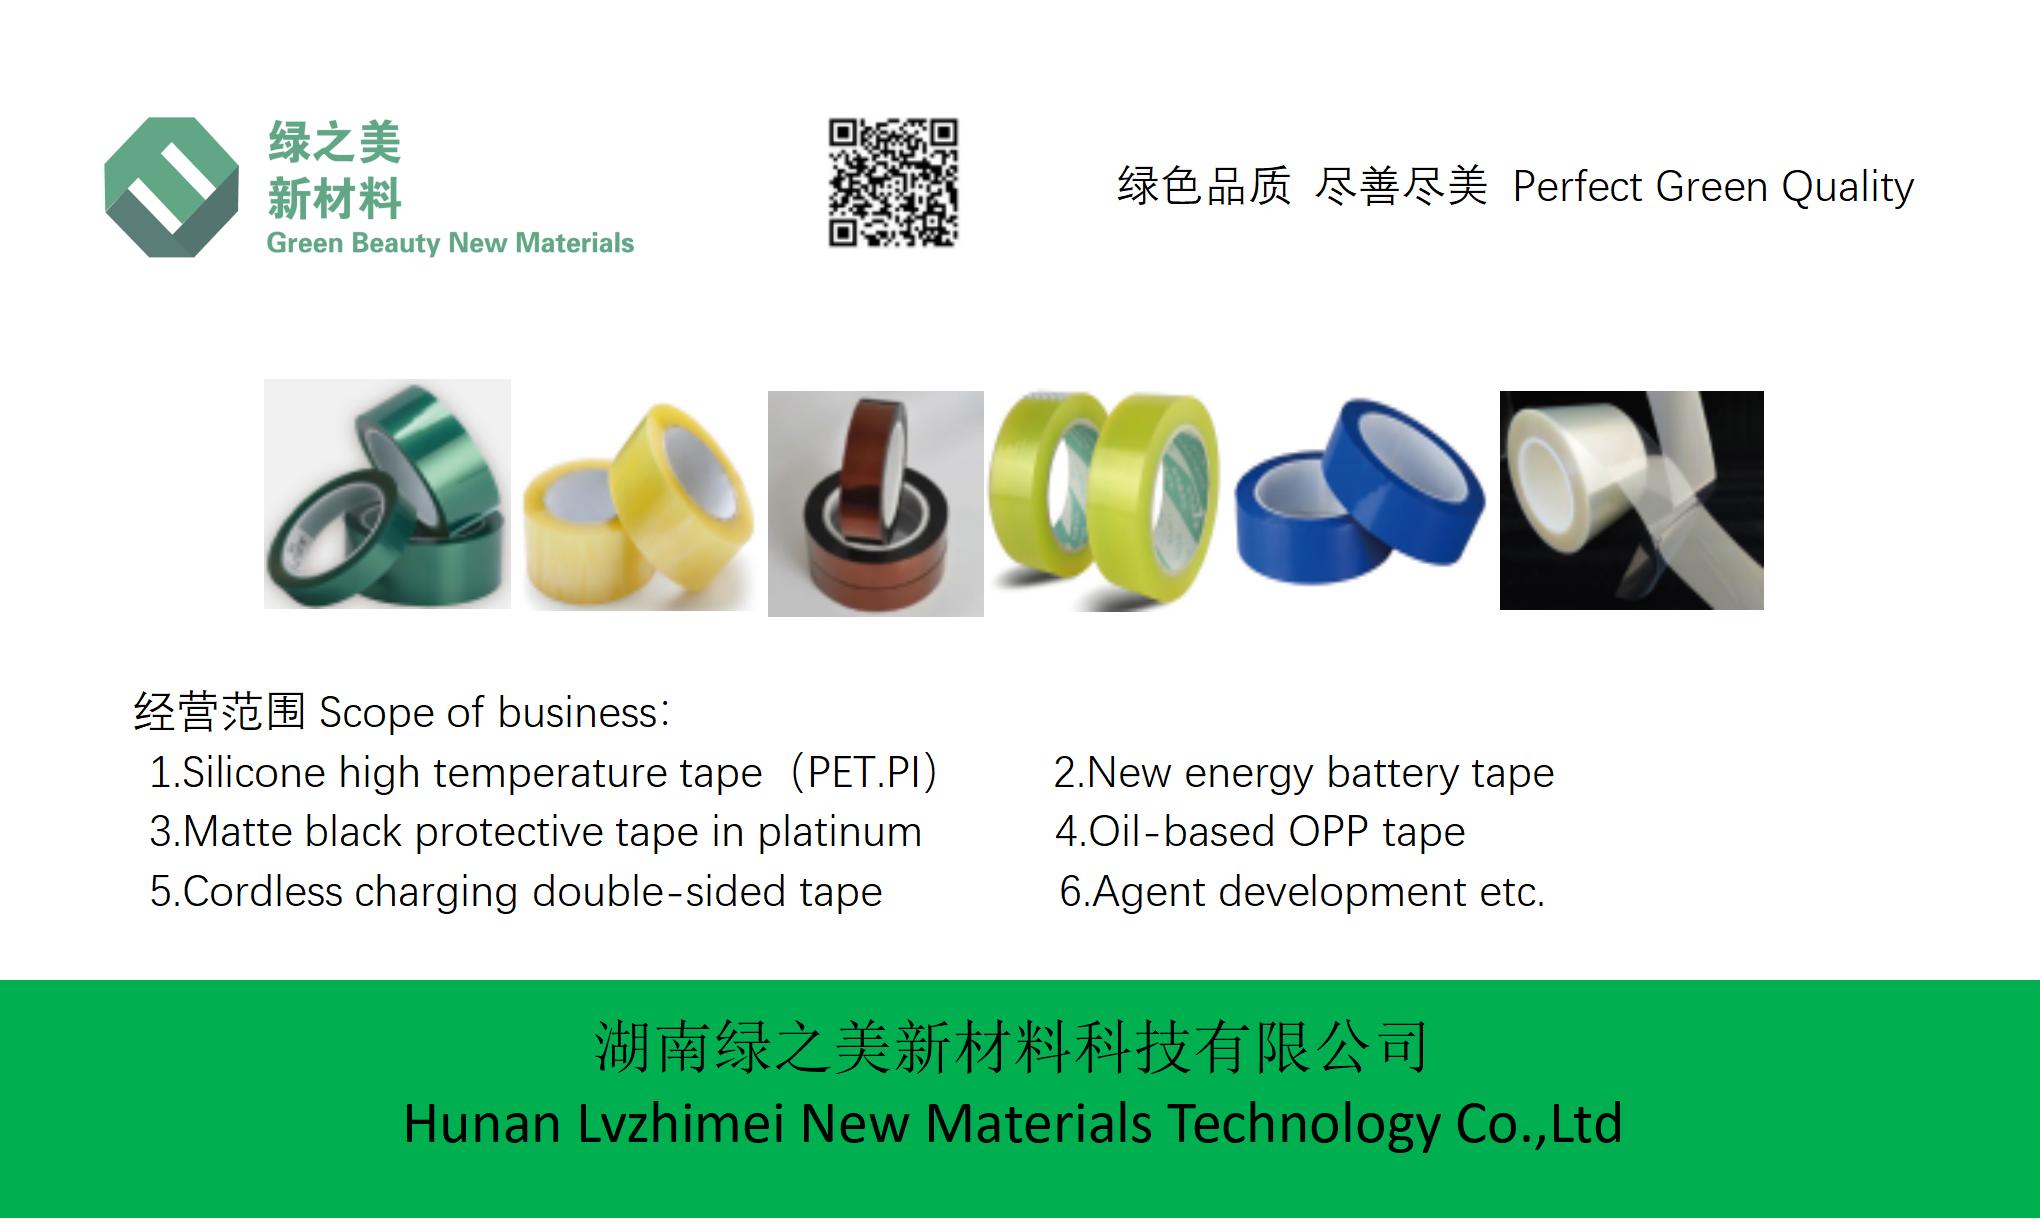
Hunan Lvzhimei New Material Technology Co., Ltd.

NameDescriptionContent
When Is the Optimal Time to Implement Gold Finger Tape in Electronics Assembly? |https://www.lvmeikapton.com/
Source:
|
Author:Koko Chan
|
Published time: 2025-05-21
|
514 Views
|
🔊 Click to read aloud
❚❚
▶
|
Share:
This paper delves into the ideal stages of electronics assembly for applying gold finger tape, exploring its significance from component placement to final testing. By analyzing critical phases such as pre-soldering masking, in-process insulation, and post-soldering protection, the study aims to establish best practices for optimizing yield rates and minimizing defects. Additionally, case studies, automation systems, and quality control measures are examined to determine the most effective timing strategies in high-volume production environments.
When Is the Optimal Time to Implement Gold Finger Tape in Electronics Assembly?
AbstractThis paper delves into the ideal stages of electronics assembly for applying gold finger tape, exploring its significance from component placement to final testing. By analyzing critical phases such as pre-soldering masking, in-process insulation, and post-soldering protection, the study aims to establish best practices for optimizing yield rates and minimizing defects. Additionally, case studies, automation systems, and quality control measures are examined to determine the most effective timing strategies in high-volume production environments.
Keywords: electronics assembly, gold finger tape implementation, assembly stages
IntroductionGold finger tape, characterized by its conductive properties and durability, plays a pivotal role in electronics assembly. It serves as a protective barrier against solder bridging, mechanical abrasion, and electrostatic discharge (ESD) during manufacturing processes. However, the timing of its application significantly impacts overall assembly efficiency and product reliability. Understanding the optimal stages for integrating gold finger tape is essential for manufacturers seeking to enhance quality while reducing costs and production delays.
1. Pre-Soldering Masking: Securing Components Before ReflowApplying gold finger tape prior to reflow soldering offers several advantages. During this stage, tape acts as a temporary mask, preventing solder paste from contaminating delicate gold finger regions. For surface-mounted components (SMCs), precise tape placement ensures that pads remain insulated, avoiding shorts during thermal exposure. Additionally, tape application at this early stage simplifies subsequent handling processes by maintaining board stability during transportation and reflow oven cycles.
Key Benefits:
●
Solder Paste Containment: Minimizes bridging risks by creating defined barriers.
●
ESD Protection: Shields gold fingers from static damage before heat exposure.
●
Assembly Flexibility: Allows adjustments to component positioning without tape displacement.
Table 1: Comparative Analysis of Pre-Soldering vs. Post-Soldering Tape Application
Stage | Advantages | Challenges |
Pre-Soldering | Early protection, reduced rework costs | Risk of tape misalignment during reflow |
Post-Soldering | Accurate application post solder inspection | Increased labor time, potential damage |
2. In-Process Insulation During Wave SolderingWave soldering introduces molten solder waves that pose a threat to unprotected gold fingers. Strategic tape application during this phase ensures insulation, preventing solder immersion and maintaining contact surface integrity. Automated tape dispensers can precisely align tape over designated areas, optimizing wave soldering efficiency. Furthermore, tape thickness selection (e.g., 0.05mm vs. 0.1mm) must align with board clearance requirements to avoid interference with connectors.
Technical Considerations:
●
Tape Adhesion: Ensure thermal resistance to withstand solder temperatures (≥260°C).
●
Process Integration: Sync tape application with conveyor speeds to prevent delays.
●
Visual Inspection Points: Verify tape continuity and absence of wrinkles before soldering.
3. Post-Soldering Protection for Gold FingersWhile post-soldering tape application is common, its timing requires meticulous planning. After reflow and wave soldering, boards undergo cleaning and inspection. Applying tape post-soldering allows for targeted protection of exposed gold fingers, particularly in regions prone to handling-induced wear. However, this approach demands thorough cleaning to remove flux residues, ensuring tape adherence without compromising conductivity.
Best Practices:
1.
Cleanse Boards: Use isopropyl alcohol or specialized solvents to remove contaminants.
2.
Manual vs. Automated Application: Balance precision with speed based on production volume.
3.
Functionality Testing: Conduct contact resistance checks after tape bonding.
4. Case Study: High-Volume PCB Assembly Line IntegrationA leading electronics manufacturer integrated gold finger tape automation at multiple stages. By applying tape pre-soldering and post-wave soldering, they achieved a 30% increase in production throughput and a 15% reduction in defect rates. Key implementation steps included:
●
Phase 1: Automated tape dispensers with vision systems for pre-soldering masking.
●
Phase 2: Post-wave soldering tape application using robotic arms for high-precision coverage.
●
Phase 3: Integration with inline quality control systems for real-time defect detection.
Outcome Metrics:
●
Yield Rate: Improved from 92% to 97% over six months.
●
Labor Costs: Reduced manual tape handling by 40%.
●
Cycle Time: Shortened by 18% through process synchronization.
5. Impact of Timing on Yield and Defect RatesThe timing of gold finger tape application directly correlates with assembly outcomes.过早应用(如在元件布局前)可能导致胶带移位或污染,而过晚应用(如在最终测试后)可能无法有效防止早期损坏。理想的时间窗口需结合以下因素:
●
Process Flow Analysis: Map tape application between critical steps (e.g., reflow, cleaning).
●
Risk Mitigation: Prioritize protection during high-stress phases (wave soldering).
●
Data-Driven Decision: Utilize historical defect data to identify vulnerable stages.
Figure 1: Defect Rate Variation by Tape Application Timing
[Insert chart showing defect rates at different assembly phases (e.g., pre-soldering, post-wave soldering, final assembly).]
6. Automated Tape Application Systems for EfficiencyAdvanced automation systems significantly enhance tape application accuracy and speed. Robotic systems equipped with pressure sensors and micro-adjustable dispensers ensure consistent tape coverage, reducing human error. AI-driven vision systems can identify component locations and adjust tape paths dynamically, accommodating diverse board designs. For high-mix/low-volume production, flexible automation offers rapid programming changes to adapt to evolving assembly requirements.
Technological Advancements:
●
Laser-Guided Tape Cutting: Minimizes material waste through precise dimensioning.
●
Real-Time Process Monitoring: Alerts operators to deviations in tape application.
●
Integrated Error Logging: Tracks defects for root cause analysis.
7. Quality Control Checks During AssemblyEffective quality control ensures the efficacy of gold finger tape implementation. Key checkpoints include:
1.
Visual Inspection: Verify tape alignment, absence of bubbles, and coverage completeness.
2.
Functional Testing: Employ spring probe tests to measure contact resistance (target ≤20mΩ).
3.
Environmental Stress Testing: Evaluate tape durability under thermal cycling and humidity exposure.
4.
Audit Trails: Maintain digital records of tape application parameters (e.g., temperature, pressure) for traceability.
ConclusionOptimal gold finger tape implementation hinges on a holistic approach to electronics assembly timing. By strategically applying tape during pre-soldering, wave soldering, and post-processing stages, manufacturers can mitigate defects, enhance yields, and streamline production. Automation, coupled with data-driven quality control, further solidifies these benefits. Future advancements in AI-integrated systems and tape materials will likely drive even greater efficiencies, paving the way for smarter electronics assembly ecosystems.
Hunan Lvzhimei New Material Technology Co., Ltd.
Quick Links


Product Categories
© 2024 Hunan Lvzhimei New Material Technology Co., Ltd.All Rights Reserved. Designed by Erge
0731 - 89717319
hnlzm@lvmeikapton.com
+86 13787123465
Room 502, Chuangye Building, No186, Guyuan Road, High-Tech District, Changsha, Hunan, China
CONTACT


